How Simpleflow was built
From geometry algorithms to clipboard hacking: the story behind a Figma plugin
Most of us draw diagrams just to make sense of how things work. Boxes and arrows are the visual glue that help us see connections between ideas.
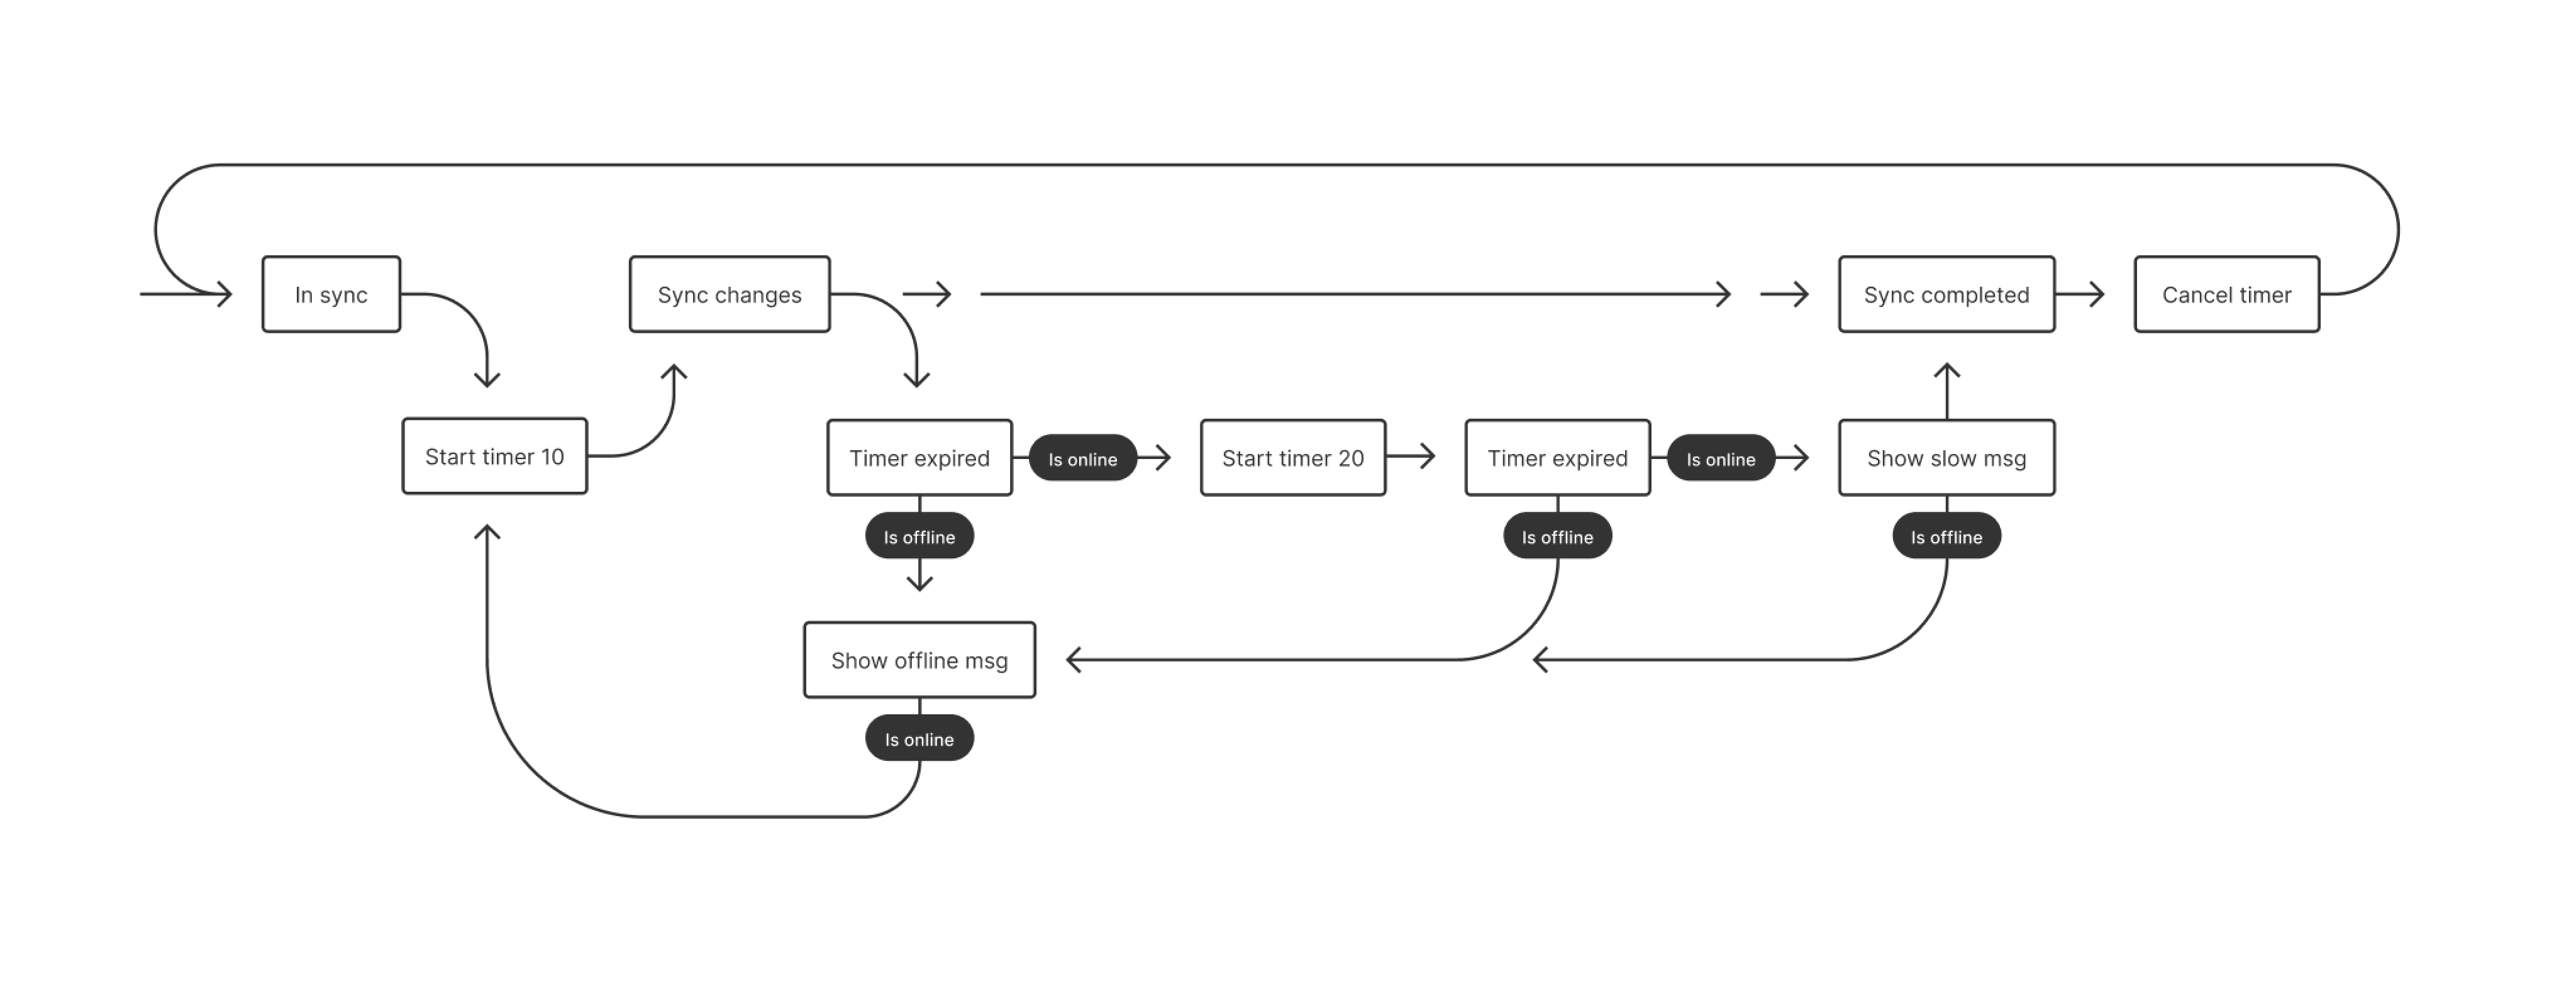
A diagram draw by Rasmus Andersson
Back then, I’d watch designers bounce between tools, sketching out flows and connectors, only to rebuild everything again inside Figma. The connectors looked off, and any time something changed, you had to modify context again.
When Figma opened its plugin API in 2019 , it suddenly became possible for anyone to fix their own small frustrations. I thought: what if drawing connectors inside Figma could be as easy as drawing shapes? What started as a small weekend experiment slowly turned into a long-term puzzle I couldn’t stop thinking about. That idea grew into SimpleFlow.
Figuring out connectors
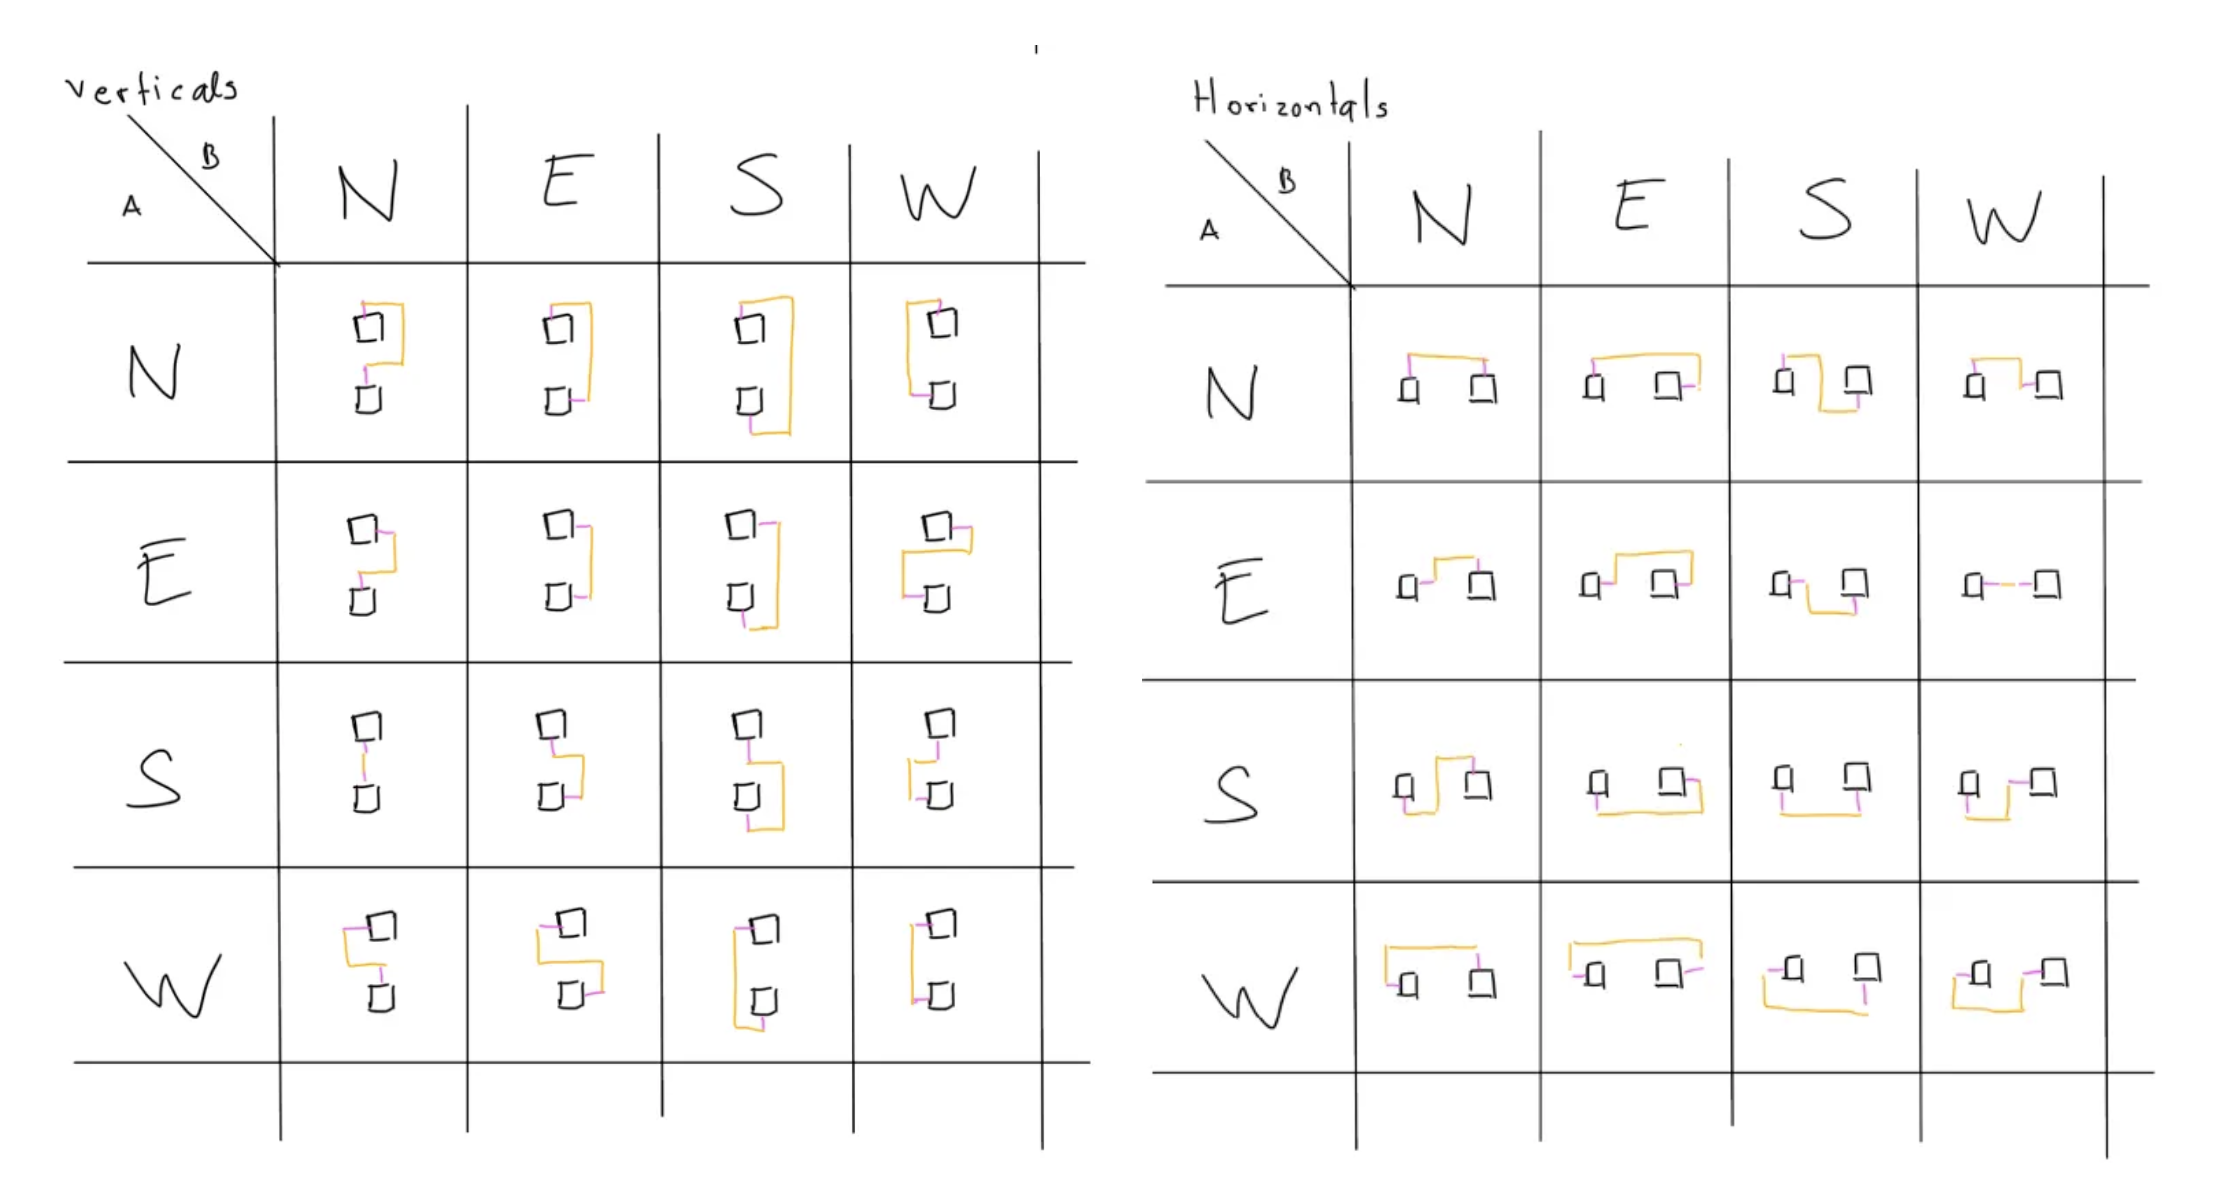
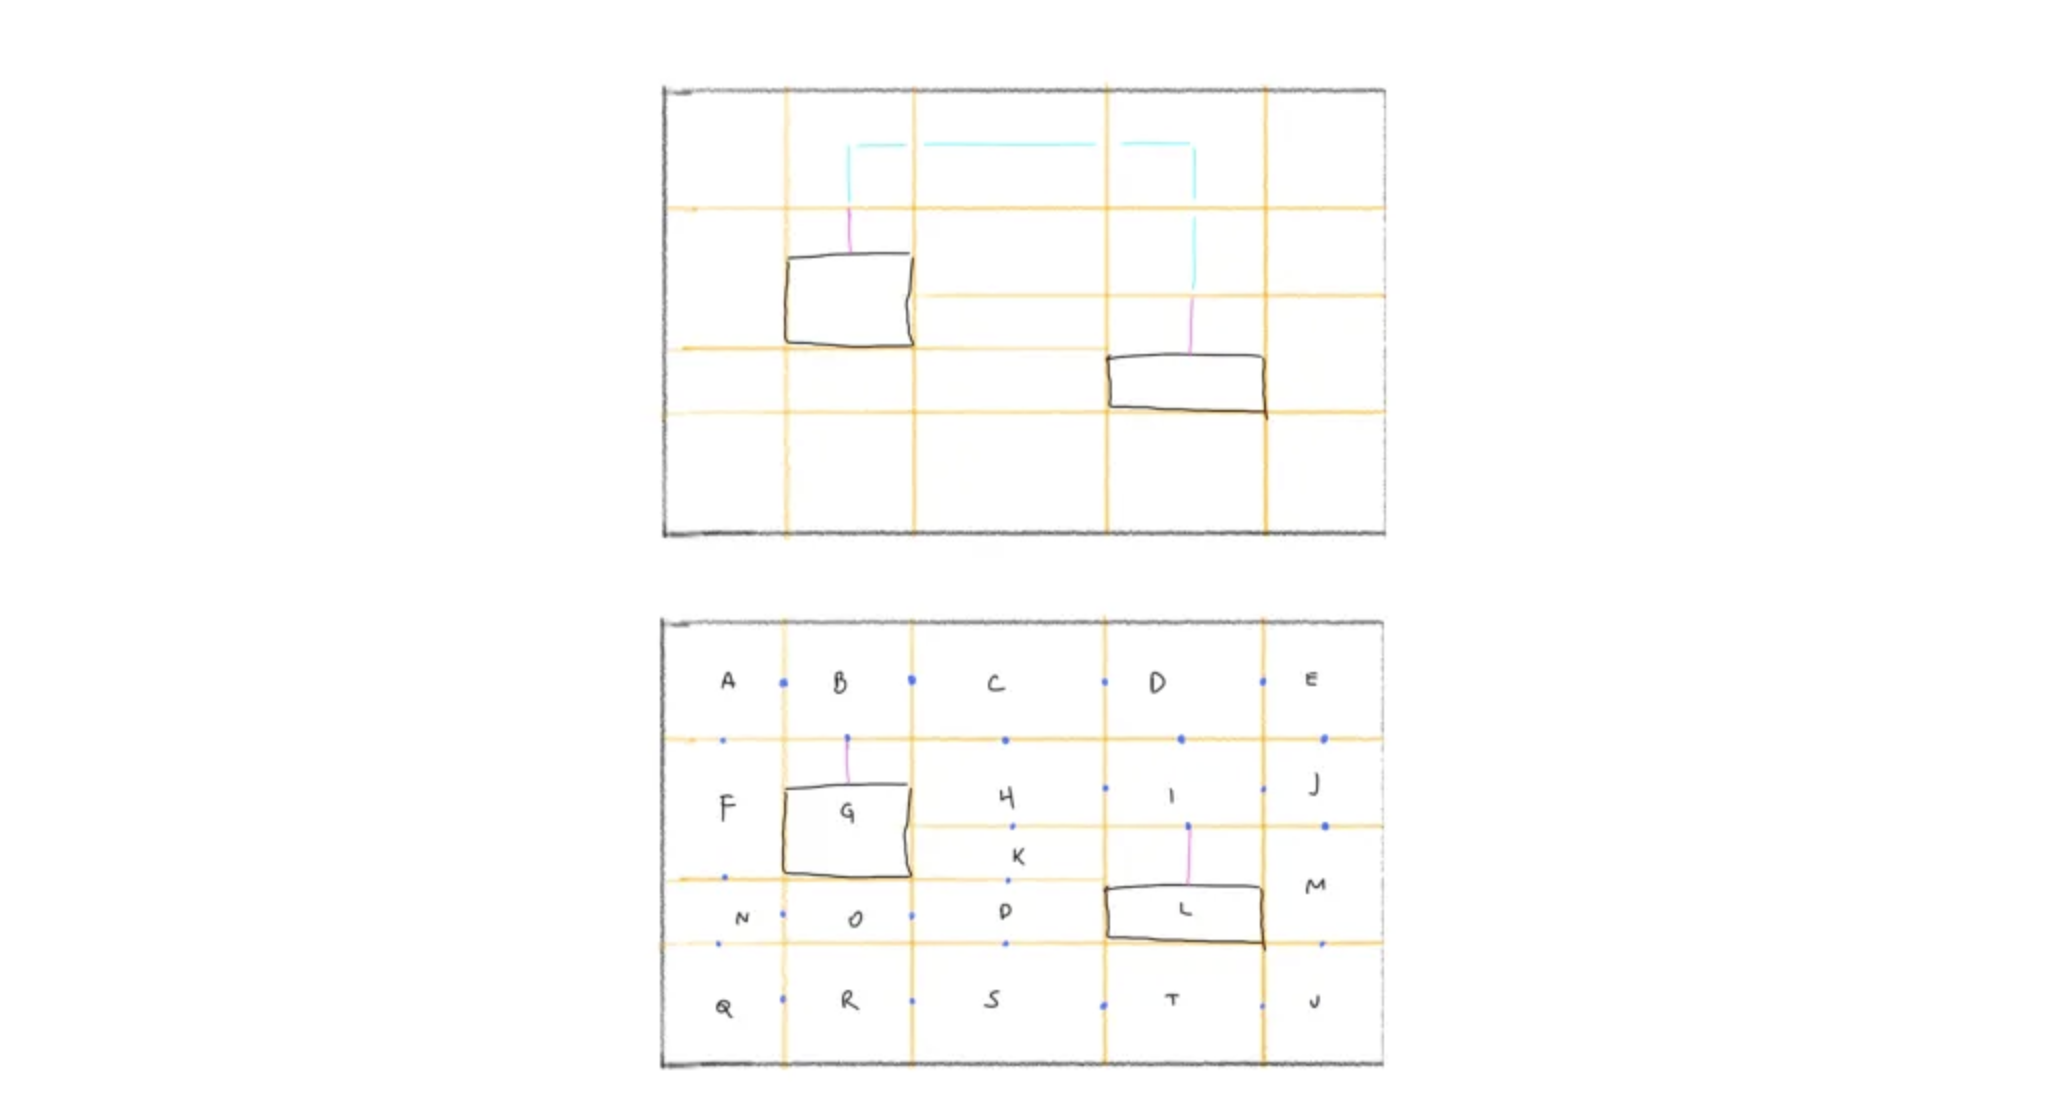
I started out SimpleFlow around one simple goal: draw connectors that look tidy and don’t cut through everything.
It sounded straightforward, but routing lines between moving boxes turned out to be a deep problem. What counts as a “good” route? How do you avoid tangled paths or weird overlaps? And what happens when frames start nesting or auto-layout gets involved?
I spent months writing rule-based routing: check positions, test collisions, bend lines at ninety degrees, repeat. If I’d seen this deep dive article about Routing Orthogonal Diagram Connectors earlier, it would’ve saved a lot of time!
A deep dive that covers most of those edge cases neatly (2020)
Then in April 2021, FigJam launched . Seeing its live connectors in action was a delightful moment: they updated in real time and solved exactly the kind of problem I’d been wrestling with. It was a reference for what a “good” solution could look like.
At that point, Figma’s API only supported connectors inside FigJam, but not in Figma Design. There was a createConnector() method, but it didn’t work outside that environment . I tried a few experiments, but none felt natural or reliable. So I decided to step back and pause the project, hoping one day the API might open up to design files too.
One button, big turning point
In January 2023, Danny Postmaa tweets about Figcomponents.com — a site that let you copy UI components from the web and paste them straight into Figma. That immediately clicked for me: if the browser could paste components, then the same pathway might also paste FigJam connectors.
With that in mind, I simplified SimpleFlow into a single idea: Copy Connector → Paste → Done. No extra settings or UI controls, just one simple action that worked.
Long story short, after launch the plugin’s usage grew almost 8x in six months (Dec, 2022 → Jun, 2023). You might be wondering: how did you make it? To make it work I had to dig into how the browser writes data to the clipboard and how Figma reads it back on paste.

Opening the clipboard
At first, I thought it’d be simple: just write the connector data to the clipboard, right? I already had a static file saved in the plugin, but the tricky part was figuring out what format it needed to be in.
So I tried pasting the connector into VS Code and Apple Notes to see what would happen. Nothing showed up. That’s when I knew something was off. I found this handy website Evercoder’s Clipboard Inspector and finally got to peek under the hood at what Figma was actually putting on the clipboard. And that’s when it all made sense: Figma wasn’t using plain text at all, it was writing rich text/html with two special attributes tucked inside: data-metadata and data-buffer.

<meta charset="utf-8" />
<div>
  <span data-metadata="<!--(figmeta)eyJm[...]9Cg==(/figmeta)-->"></span>
  <span data-buffer="<!--(figma)ZmlnLW[...]ff/AA==(/figma)-->"></span>
</div>
<span style="white-space:pre-wrap;">Text</span>
data-metadata starts with eyJ, which gives me a sense of Base64-encoded JSON; decoding with JSON.parse(atob(...)) you’ll get something like:
{
  "fileKey": "4XvKUK38NtRPZASgUJiZ87",
  "pasteID": 1261442360,
  "dataType": "scene"
}
And the real payload lives inside data-buffer (pretty huge!). Base64-decoding that produces a binary blob starting with fig-kiwi. I learned about this from Alex Harri’s excellent deep dive on the Clipboard API, which explains not just how clipboard formats work in browsers, but also how Figma encodes its own data:
fig-kiwiF\x00\x00\x00\x1CK\x00\x00µ\v\x9CdI[...]\x83\x03This fig-kiwi string turned out to be Figma’s internal Kiwi format (created by co-founder & former CTO Evan Wallace). So what I needed to store inside the static file wasn’t just vector data; it was a tiny .fig file!
Decoding and encoding using kiwi-schema
When user press copy hotkey, Figma turns the selected elements (area) into a small .fig file through kiwi-schema format, encodes it in Base64, places that string inside the data-buffer attribute of an empty HTML <span> element, and then writes the entire HTML snippet to the clipboard as text/html.
You can test out the online version here: try to create a new figma file, save and upload it to Evan Wallace’s .fig parser . You’ll see the actual contents, including Design data (.fig), Meta data (.json), and the thumbnail.
If you’re interested in learning more about the Kiwi format itself, check out the kiwi-schema repository to understand how the binary encoding works. Below I will also provide the pseudo code to guide you through the process:
import { ByteBuffer, compileSchema, decodeBinarySchema } from 'kiwi-schema';

// Extract Base64 from html → Base64 → Blob → ArrayBuffer, then:

const figToJson = (fileBuffer: ArrayBuffer): { json, schemaByte: Uint8Array } => {

  // Parse fig-kiwi format: ['fig-kiwi' keyword][delimiter][schema section][data section]
  const [schemaByte, dataByte] = figToBinaryParts(fileBuffer);

  const schema = decodeBinarySchema(new ByteBuffer(schemaByte));
  const schemaHelper = compileSchema(schema);
  const json = schemaHelper['decodeMessage'](new ByteBuffer(dataByte));

  // Return both json and schemaByte for encoding later
  return { json, schemaByte };
}

const { json, schemaByte } = figToJson(arrayBuffer);
// → { json: { nodeChanges: [{ type: 'CONNECTOR', ... }] }, schemaByte: Uint8Array }
Now you can edit whatever you want at the schema level! Working directly with the schema exposes more props than the API level, giving you access to undocumented fields and configurations. After updating all the connector JSON data, you can encode it back:
import { ByteBuffer, compileSchema, decodeBinarySchema } from "kiwi-schema";

const jsonToFig = async (json, schemaByte: Uint8Array): Promise<Uint8Array> => {
  // Reuse the schema from decode step (no need to re-parse!)
  const schema = decodeBinarySchema(new ByteBuffer(schemaByte));
  const schemaHelper = compileSchema(schema);
  const encodedData = schemaHelper["encodeMessage"](decodeBase64ToBlobBytes(json));

  // Compress both schema and data
  const compressedSchema = UZIP.deflateRaw(schemaByte);
  const compressedData = UZIP.deflateRaw(encodedData);

  // Build fig-kiwi binary format
  const result = new Uint8Array(
    8 + 4 +                              // keyword bytes + delimiter
    4 + compressedSchema.length +        // schema section
    4 + compressedData.length            // data section
  );

  // Write header: 'fig-kiwi' keyword bytes + delimiter
  result.set([102, 105, 103, 45, 107, 105, 119, 105], 0);  // 'fig-kiwi'
  result.set([0x0f, 0, 0, 0], 8);                          // delimiter

  // ... and the rest of compressedSchema and compressedData.

  return result;
};

// binaryData is now a Uint8Array in Figma's fig-kiwi format
const binaryData = await jsonToFig(jsonData, schemaByte);

// then, Uint8Array → Base64 → Update to the HTML and write to Clipboard
At first, this approach might seem overcomplicated, but there’s a good reason for it. As Alex Harri explains in his article on clipboard formats , browsers have to translate data between web and operating system clipboard APIs, and each OS supports only a few “standard” formats, like plain text, HTML, and PNG. Custom types (like Figma’s internal format) don’t map cleanly across apps.
By storing encoded data as text/html, Figma ensures that the clipboard contents are recognized by all operating systems. That’s why you can copy something from Figma’s web app and paste it seamlessly into the desktop app, the browser and OS both understand what’s being transferred.
Back to the plugin
Once I understood how fig-kiwi worked, I could finally rebuild SimpleFlow from the inside out. The plugin can now generate connectors dynamically: adjusting color, stroke width, or corner rounding.
It can even create connector types that aren’t available in Figma’s official UI. Because the plugin builds connectors directly at the data level, it offers far more precise control without the usual editor limitations:
/**
* Working at the schema level unlocks two key advantages:
*
* 1. Access to undocumented properties: Some connector properties like `connectorTextMidpoint`
*    exist in the schema but aren't exposed through Figma's official API documentation.
*    https://developers.figma.com/docs/plugins/api/api-reference/
*
* 2. Bypass UI limitations: You can apply config that Figma's UI doesn't normally allow,
*    such as setting `connectorLineStyle` from "ELBOWED"` to `CURVED` type.
*/

{
  ...,
  type: "CONNECTOR",
  visible: true,
  opacity: 1,
  strokeWeight: 0,
  strokeAlign: "CENTER",
  connectorLineStyle: "ELBOWED", // 📍 customize to `CURVED` type is possible!
  connectorStartCap: "NONE",
  connectorEndCap: "ARROW_LINES",
   // 📍 or access to internal props
  connectorTextMidpoint: { section: "MIDDLE_TO_END", offset: 0.04886624589562416, offAxisOffset: "NONE" },
  connectorStart: {
    magnet: "NONE"
    ...,
  },
  connectorEnd: {
    magnet: "NONE"
    ...,
  },
  ...
}On the other hand, getting clipboard writes to behave inside Figma’s plugin sandbox was tricky. Some clipboard APIs are deprecated, and browser behavior can be inconsistent. This community thread became my main reference. After plenty of trial and error, I found a setup stable enough to rely on.
const setToClipboard = async (data) => {
  try {
    /**
     * As with many new APIs, the Clipboard API is only supported for pages served over HTTPS.
     * To help prevent abuse, clipboard access is only allowed when a page is the active tab.
     * Pages in active tabs can write to the clipboard without requesting permission,
     * but reading from the clipboard always requires permission.
     */
    const contentBlob = new Blob([data], { type: "text/html" });
    const item = new clipboard.ClipboardItem({ "text/html": contentBlob });

    clipboard.write([item]).then(
      () => {
        console.log("Copied to clipboard successfully!");
      },
      (error) => {
        console.error("unable to write to clipboard. Error:");
      }
    );
  } catch (err) {
    new Error(err);
  }
};
That’s how SimpleFlow’s Copy Connector button actually works, it assembles a valid element schema, encodes it the same way Figma does, save the data into Clipboard, and relies on Figma’s native parsing process when pasting.
When Figma closed the API door
Around mid-2025, Figma tightened its API. Developers began seeing errors like this:
Error: in clone: Cloning CONNECTOR nodes is not supported in the current editor“The CONNECTOR node type is specific to FigJam and should never have been allowed by the API in Figma Design… The API has now been updated to enforce this consistently.”
— ksn, Figma Community Support
A discussion on the Figma Forum explains that no more createConnector() calls and clone() workarounds, FigJam connectors were officially off-limits inside Figma Design. Many popular plugins broke overnight. SimpleFlow, however, kept working.
Both approaches were technically programmatic: one used Figma’s API to create connectors directly, while mine generated the connector through actual element schema instead. Users still had to press hotkey Cmd/Ctrl + V to paste it from Clipboard, but since Figma treats paste as a valid action, it remained supported. That small difference was enough to keep the plugin alive.
Looking back
What began as a weekend experiment to route lines around boxes turned into an unexpected API journey. When geometry got tricky and the Figma API reached its limits, curiosity led me to explore how copy-paste actually works, and turned out to be the better path. Along the way, I learned a few things:
- Every copy in Figma is essentially a tiny
.figfile. - Understanding clipboard formats can sometimes be more powerful than private APIs.
- Simplicity scales — one button can go a long way.
Today, SimpleFlow helps thousands of creators turn their ideas into clear diagrams inside Figma. I’m glad that a small project taught me so much — lessons that have carried into every other plugin I’ve built since.
References
- SimpleFlow Plugin
- Routing Orthogonal Connectors in JavaScript
- Figma createConnector() API Docs
- Figcomponents
- Danny Postmaa’s Tweet
- Evan Wallace’s .fig Parser
- Evercoder’s Clipboard Inspector
- The web’s clipboard, and how it stores data of different types
- Community Thread: Write to Clipboard from Plugin
- Forum Thread: Connector Clone Restriction